 BCFFC SHOP
T-Shirts & Tie-Dye
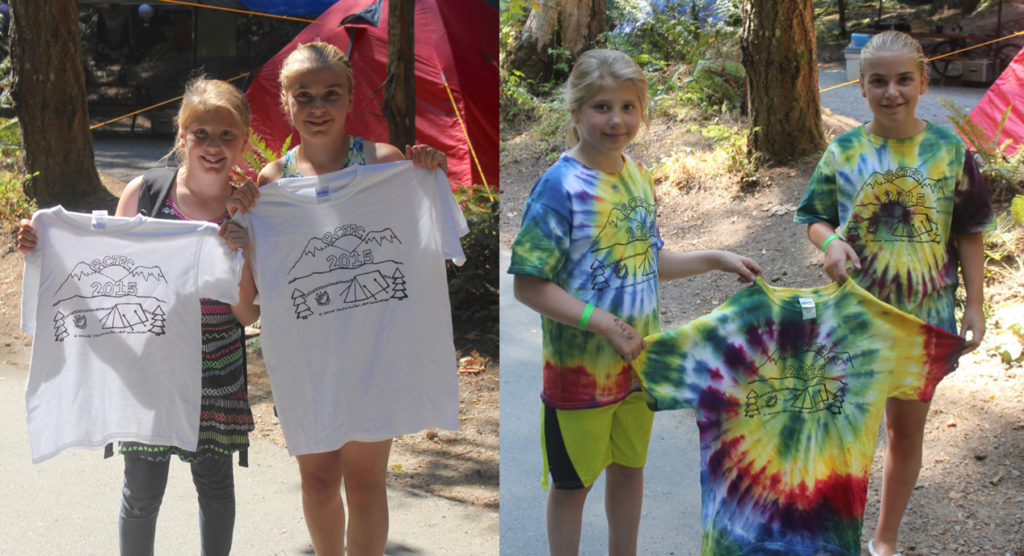
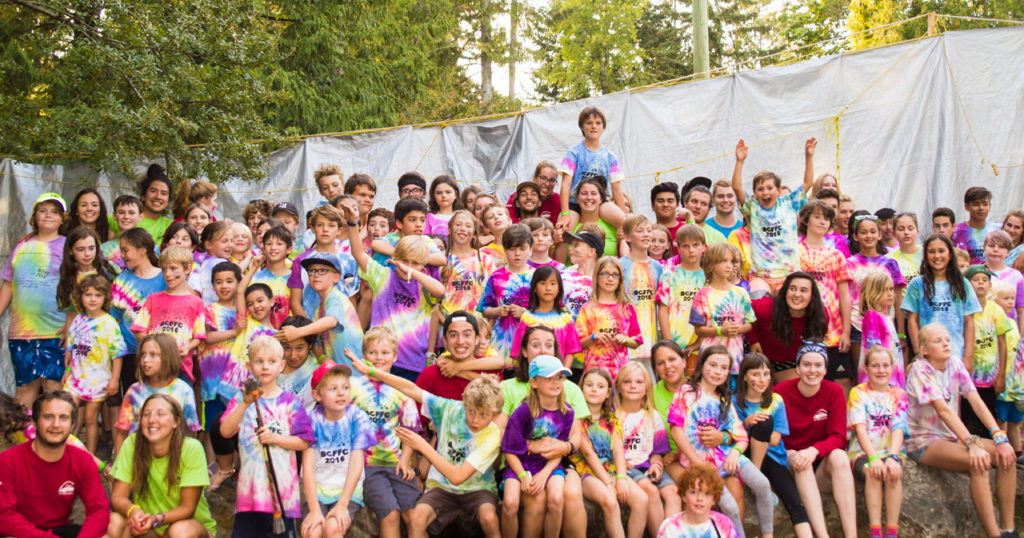
One of the major highlights for kids and parents alike is the annual ritual of the t-shirt tie-dye extravaganza.
Each child that is registered in program will receive a camp t-shirt free of charge. If your family would like to order extra shirts for parents or other family members, please indicate the number and sizes on your application. Additional shirts ordered are $12 and will be included in your total fees payable at application time.
Please Note: Children are not permitted to tie-dye shirts or other items without adult supervision. A tie-dye workshop will be offered at camp and parents MUST be present and actively supervising their children when ever they are at the tie-dye station.
Tie-Dyeing
When tie-dyeing, the method of tying (or binding) and dye placement control the patterns and designs.

Tying
You can bind your shirt to create many different patterns. The following example outlines the simple, yet exciting spiral form.
Spread the shirt flat, as if it was on a hanger, and smooth any wrinkles. Pinch a spot near the centre of the shirt, and holding tight, begin to twist. Do not lift the pinched spot off the ground. Grab hold and scoot around the shirt in a circle so that you can maintain a steady grip. As you twist, you will notice folds, or pleats, are forming. With your other hand, try to keep the pleats a uniform size. It is normal for the outermost pleats to be a little larger than the ones in the middle, but if there is a substantial change in size, start again. When you are done, the shirt should be twisted into a circle about 20 cm (8″) in diameter and 5 cm (2″) tall and the pleats will look something like a cinnamon roll.
Note that we use rubber bands at camp for binding. Using several rubber bands, secure the t-shirt in place.
If you are binding in different patterns, simply twist sections of the shirt and bind them off with the rubber bands…. Continue this until the desired number of bound sections is achieved.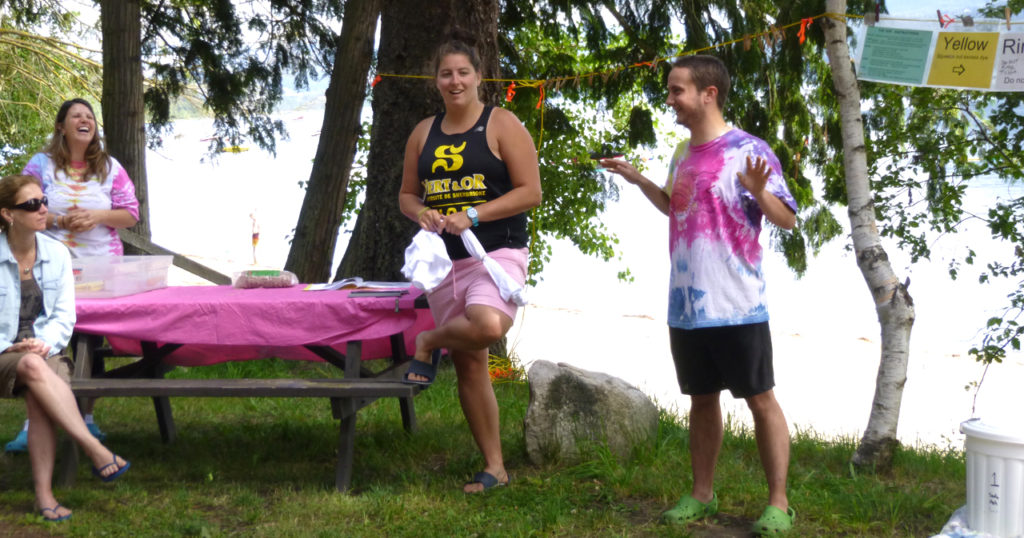
Dyeing
Dip the bound shirt into the dye colours, remembering to dye from the lightest to darkest colours and not to go backwards. We usually have yellow, red, and blue dyes, so with these you would start with the yellow, move to the red, and finish with the blue. Never go back to a previous colour.
The more sections of colour you can make, the more arms of the fan you will create. Try to plan the colour placement so that complementary colours do not touch. Purple and yellow, when they touch, will make brown, whereas blue and yellow will make green. Start with the lighter colours. When yellow is applied first, and blue is applied next to it, the edge that touches will become a brilliant green. If the blue is applied first, the yellow will have a diminished effect, leaving a greenish blue.
Apply enough dye to cover every pleat, but do not saturate the shirt. When the first side is done, flip the shirt over and repeat the dyeing process, trying to match the colours from the other side. After a minute or two, undo the rubber bands and admire your work of art. Then move on to the dye dipping process as previously explained.
Looking for more tie-dye inspiration? Check out these sites:
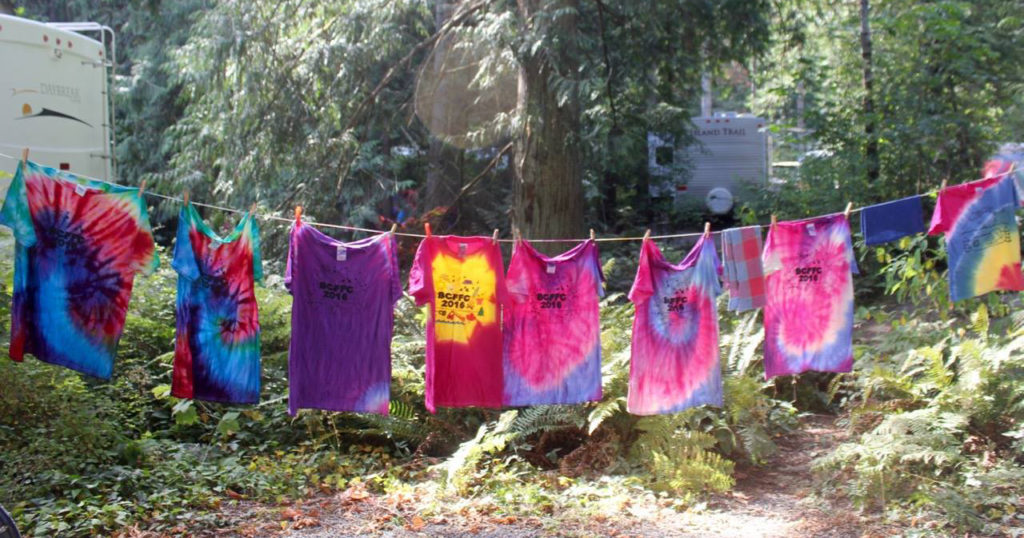
Care for Your Tie-Dyed Shirt
Many people like to “set” the colours in their tie-die work of art. To do this, use a mixture of vinegar and cold water to rinse the shirt in. Others believe that all you need to set the shirt is to run it under cold water. Some dye will be released but either method should minimize future bleeding. Wash in a chlorine/bleach free detergent!